Knitted Hem Tutorial
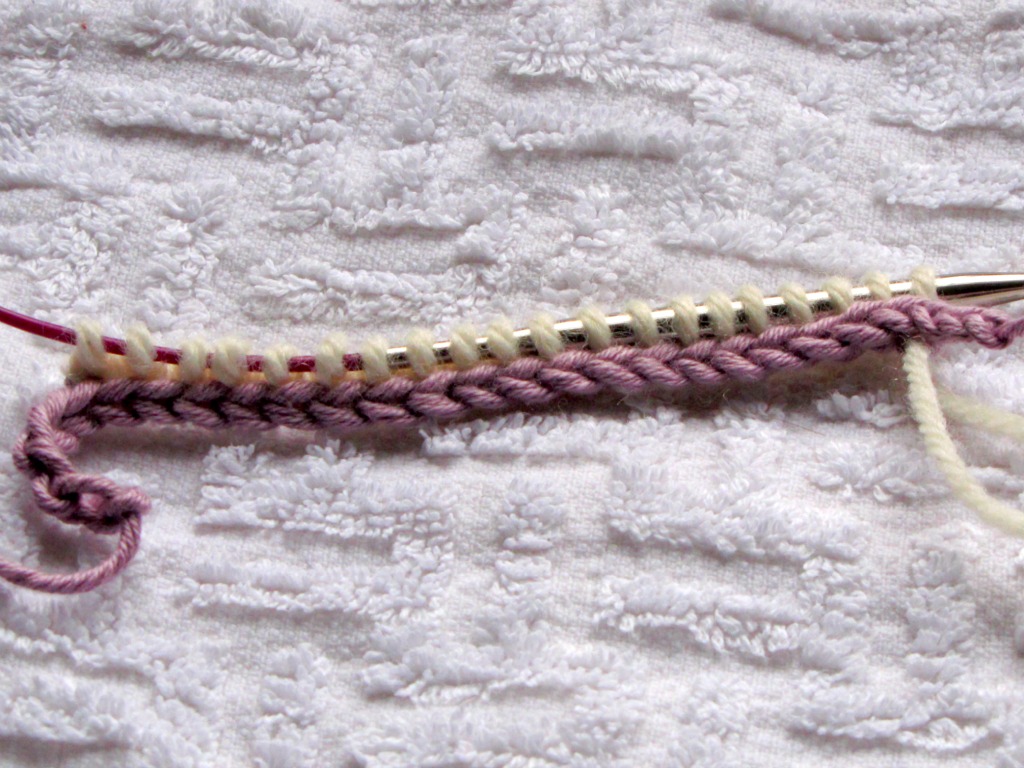
Start by making a provisional cast on using a scrap of waste yarn in a gauge similar to your working yarn (something smooth and slippery if possible). See my tutorial on making a provisional cast on if you are unfamiliar with the technique.
Cast on the number of stitches that you require by picking up the requisite number from the chain.
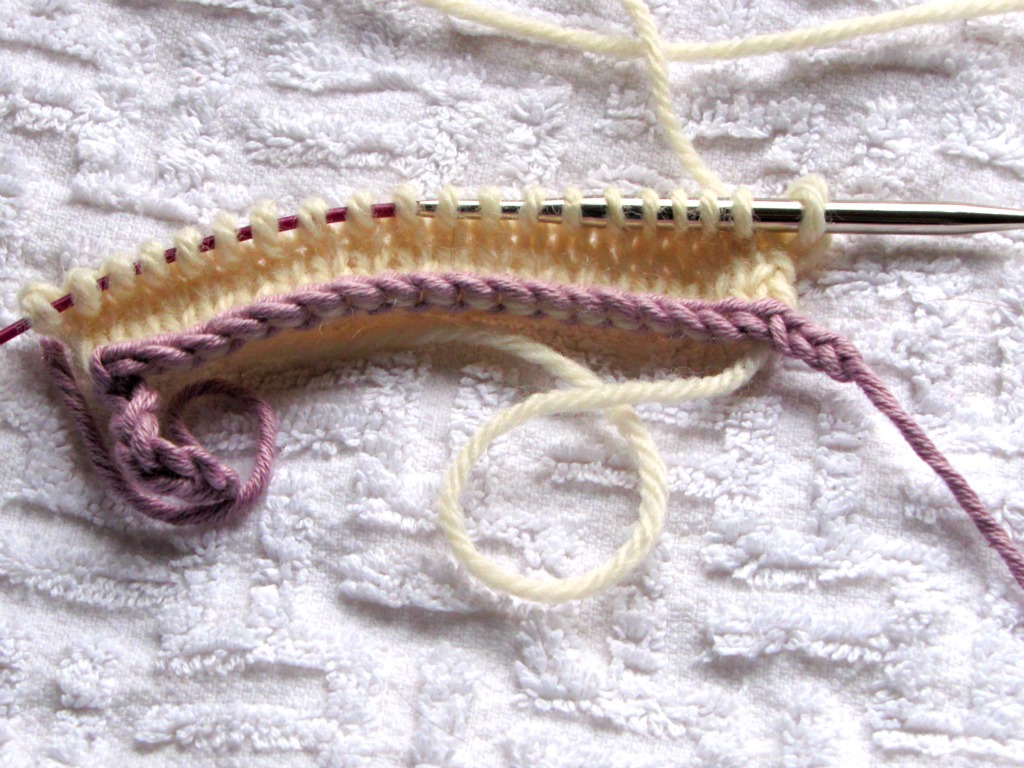
Work in Stockinette for however many rows you require — no less than 3 and probably no more than 9. Be sure to keep a row count!
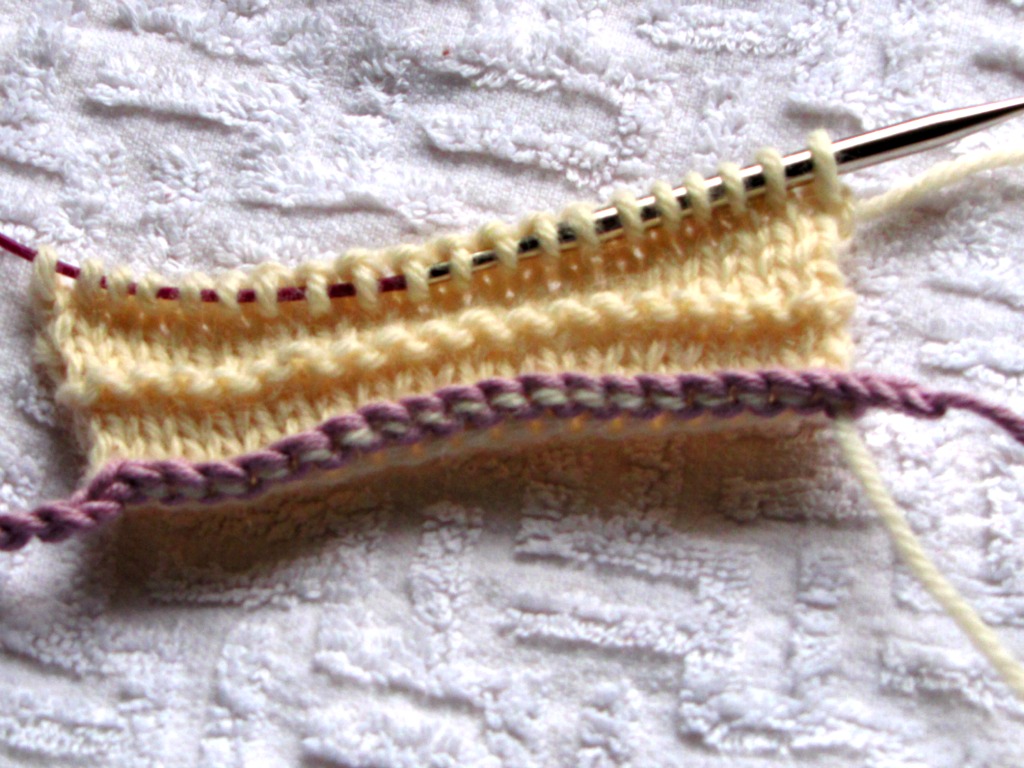
Work a turning row next. If you have the right side facing, it will be a purl row; if you have the wrong side facing, it will be a knit row.
In the picture above it is a purl row. It gives a sharp edge when the hem is folded down.
Then, work in Stockinette again for the same number of rows that you worked for the first half. In this case it was 5 rows Stockinette — turning row — 5 rows Stockinette.
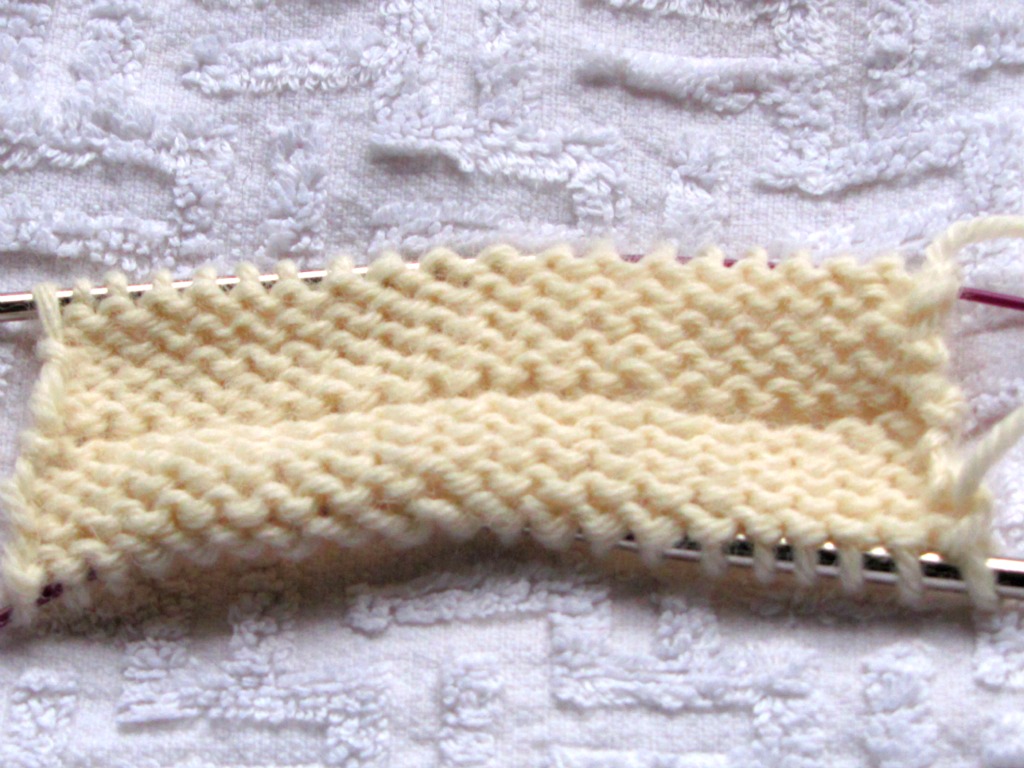
Next, unzip the crocheted chain at the cast on edge and put those live stitches onto a needle.
You can see here that I used a smaller gauge needle for picking up these stitches (the uppermost needle in the picture) as it makes it a lot easier and doesn’t affect the gauge.
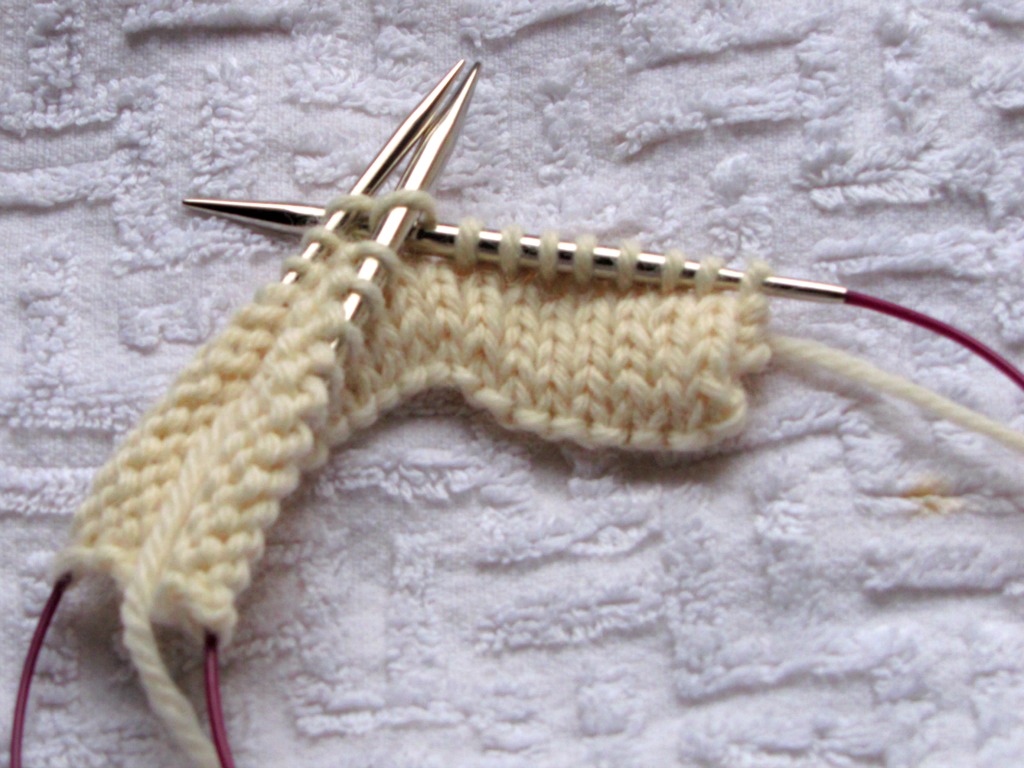
Fold the knitting in half lengthwise at the turning row with the wrong sides together, and hold the needles containing the two sets of stitches in the left hand.
Knit the front (working) stitches together with the back (cast on) stitches across the whole row, thereby closing the hem.
This is the same technique you use with the 3-needle bind off, except that you are not binding off the stitches.
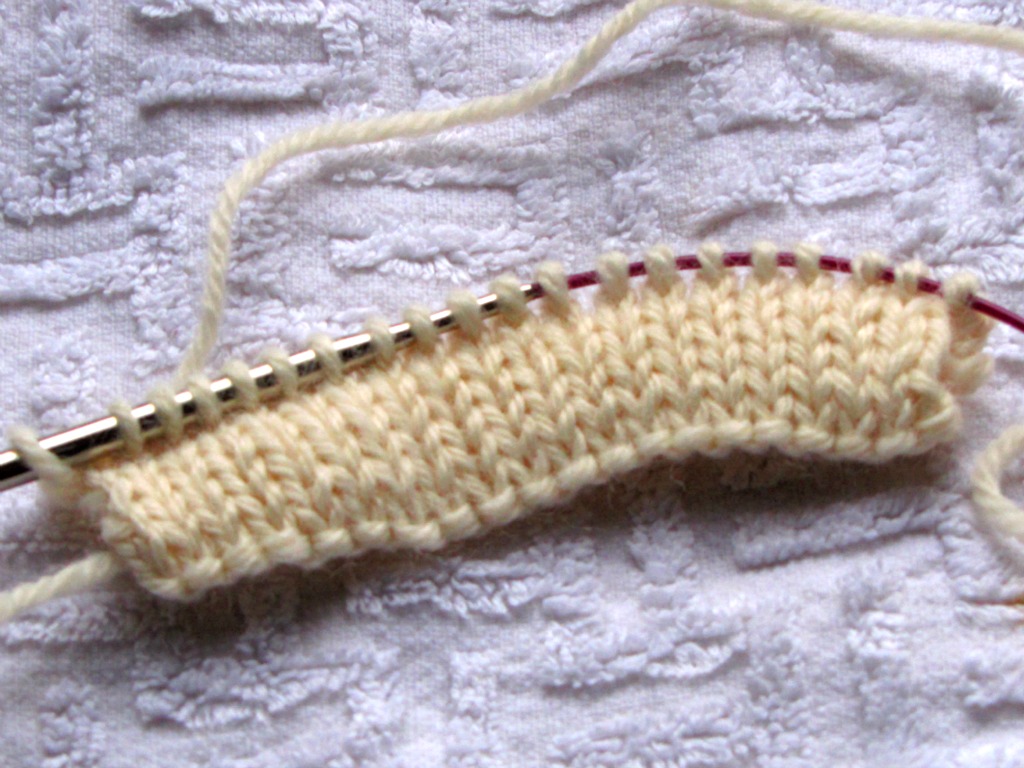
Once your hem is done, continue knitting as you normally would.
This hem can also be made with a regular cast on edge — casting as as normal, knitting the first and second halves of the hem, and then folding it and sewing it in place after the piece is fully complete.
However, I much prefer this method, as a little extra work means no sewing at the end, and also the provisional cast on method has the same amount of stretch as the rest of the knitting, whereas a sewn hem doesn’t.
